Step 1. Create an account
Create an UP42 account to access the SDK.
Step 2. Install the SDK and authenticate
Install the SDK package:
pip install up42-pyconda install -c conda-forge up42-pyAuthenticate your account:
import up42up42.authenticate( password="your-password",)import up42up42.authenticate( password="your-password", region="sa",)Your token will be automatically refreshed in the same session.
Step 3. Explore the glossary
The catalog hosts archive data: data that already exists, captured by one of the providers on our platform.
Our glossary displays information about all data offerings, which are referred to as collections. Use the code snippet below to return a complete, up-to-date list of our catalog collections:
archive_collections = up42.ProductGlossary.get_collections( collection_type = up42.CollectionType.ARCHIVE, sort_by = up42.CollectionSorting.name.asc,)
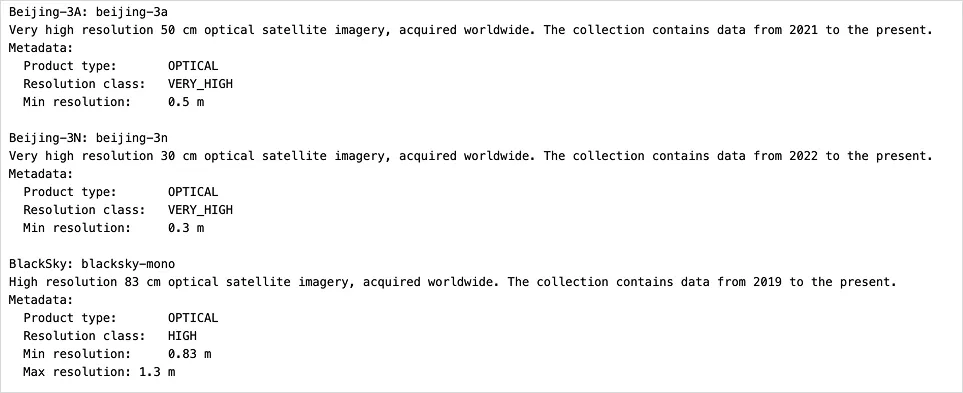
for collection in archive_collections: print(f"\n{collection.title}: {collection.name}") print(f"{collection.description}") print("Metadata:") print(f" Product type: {collection.metadata.product_type}") print(f" Resolution class: {collection.metadata.resolution_class}") print(f" Min resolution: {collection.metadata.resolution_value.minimum} m") if collection.metadata.resolution_value.maximum: print(f" Max resolution {collection.metadata.resolution_value.maximum} m")This step’s output
All catalog collections will be returned with their metadata information, such as product type and resolution:
Step 4. Search for Sentinel-2 scenes
Scenes are captures of a particular area within a specific collection. We’ll use Sentinel-2: as an open data source from the European Space Agency, it’s free.
When searching for scenes, you can select the following parameters:
- Area of interest
- Acquisition date
- Maximum acceptable cloud coverage
Here’s the code you need to search for Sentinel-2 scenes:
from itertools import islice
# 1. Define the area of interest (AOI)geometry = { "type": "Polygon", "coordinates": [ [ [13.369713, 52.452327], [13.369713, 52.470760], [13.339159, 52.470760], [13.339159, 52.452327], [13.369713, 52.452327], ] ],}
# 2. Get the collection, host, and data productarchive_collections = up42.ProductGlossary.get_collections( collection_type = up42.CollectionType.ARCHIVE, sort_by = up42.CollectionSorting.name.asc,)collection = next(c for c in archive_collections if c.name == "sentinel-2")host = next(p for p in collection.providers if p.is_host)data_product = next(p for p in collection.data_products if "sentinel-2-level-2a" in p.name)
# 3. Search for scenes from the "sentinel-2" collectionscenes = list(host.search( collections=["sentinel-2"], intersects=geometry, start_date="2023-06-01", # Start date is 01.06.2023 end_date="2024-12-31", # End date is 31.12.2024 query={"cloudCoverage": {"LT": 20}} # Cloud coverage of 20% or less))
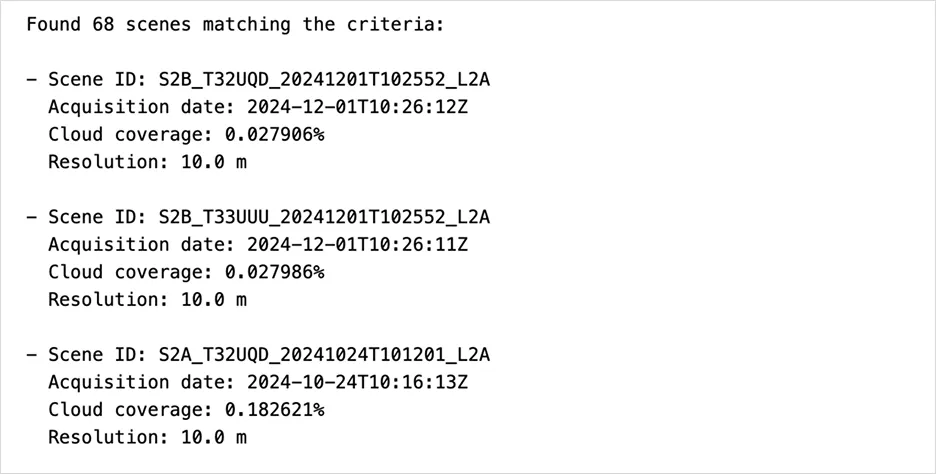
# 4. Print key information for each sceneprint(f"Found {len(scenes)} scenes matching the criteria:\n")for scene in islice(scenes, 3): # Print first 3 print(f"- Scene ID: {scene.id}") print(f" Acquisition date: {scene.datetime}") print(f" Cloud coverage: {scene.cloud_coverage}%") print(f" Resolution: {scene.resolution} m\n")This step’s output
Scenes matching the search criteria will be returned:
Step 5. Check the preview image
Before creating an order, check how your scene looks. With quicklooks, you can see a preview of your scene. Note that not all data providers provide quicklooks.
The code below will request a quicklook of the first scene:
import pathlibfrom IPython.display import Image, display
# 1. Select a scenefirst_scene = scenes[0] # Get the first scene from your results
# 2. Create a directory to save the imageoutput_directory = pathlib.Path("downloaded_images")output_directory.mkdir(exist_ok=True)
# 3. Download the quicklookdownloaded_file_path = first_scene.quicklook.download(output_directory)print(f"Quicklook downloaded to: {downloaded_file_path}")
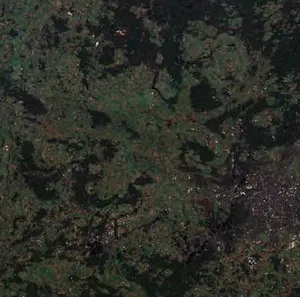
# 4. Display the downloaded imageprint("\nQuicklook:")display(Image(filename=downloaded_file_path, width=600))This step’s output
You will get a preview of the scene: in this case, a capture of Berlin, Germany, and the surrounding state of Brandenburg. Remember that this is just a low-quality preview image, not what the final scene will look like.
Step 6. Create an order
Create an order to get the selected Sentinel-2 scene for free with this code snippet:
import geojson
# 1. Place the order and get an OrderReferenceorder_ref = up42.BatchOrderTemplate( data_product_id=data_product.id, display_name="Sentinel-2 demo order", features=geojson.FeatureCollection(features=[geojson.Feature(geometry=geometry)]), params={"id": scene.id}, tags=["sdk", data_product.name]).place()[0]
# 2. Track the orderorder_id = order_ref.idorder = up42.Order.get(order_id)order.track()This step’s output
You will create an order and track its status:
![]()
By default, the order status will be checked every 2 minutes. It will take up to 10 minutes for the system to complete the order.
Step 7. Download the data
Once the order is complete, you can download your data. Here’s the code needed to download it:
# 1. Create a PySTAC client connectionUP42_client = up42.stac_client()
# 2. Define the search filterfilter = {"op": "=", "args": [{"property": "order_id"}, order_id]}items = UP42_client.search(filter=filter)
# 3. Create an output directoryoutput_dir = pathlib.Path.home() / "Desktop" / "original_zipped_deliveries"output_dir.mkdir(parents=True, exist_ok=True)
# 4. Download the assetfor item in items.items(): collection = item.get_collection() if not collection: continue original_delivery = next( (asset for asset in collection.assets.values() if asset.roles and "original" in asset.roles), None, ) if original_delivery: downloaded_file_path = original_delivery.file.download(output_directory=output_dir) print(f"\nThe original delivery was downloaded to '{downloaded_file_path}'.") breakelse: print(f"The original delivery wasn't found.")This step’s output
The data will be downloaded to your device.